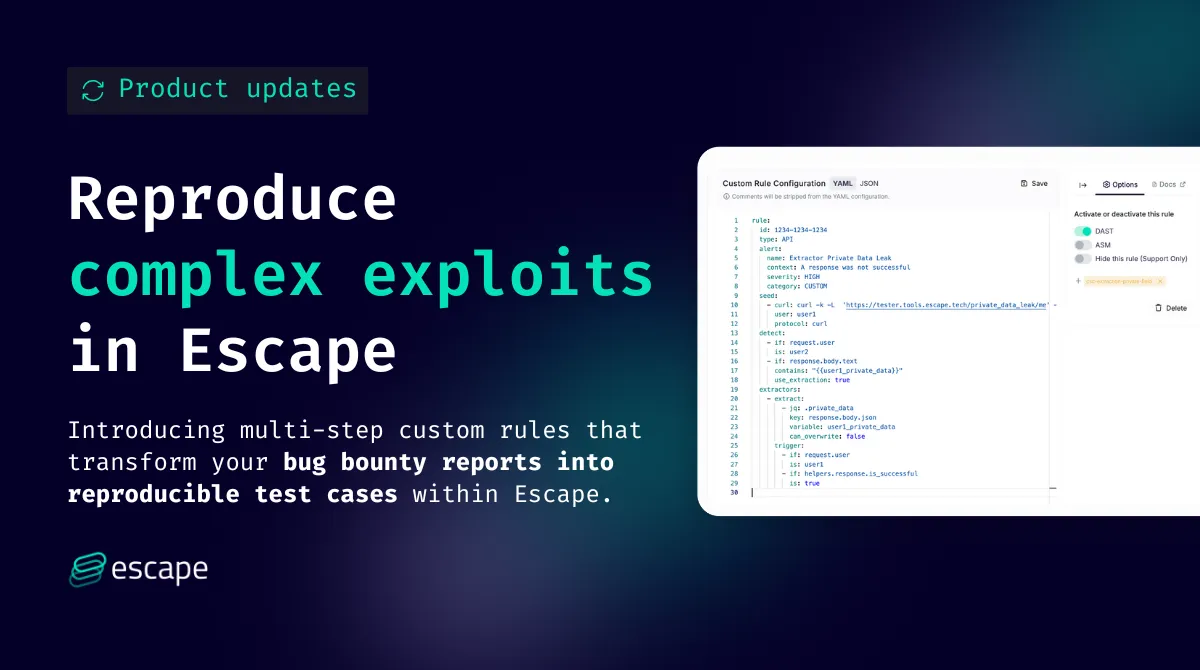
Reproduce complex exploits in Escape: Multi-Step Custom Rules Are Here

Until now, custom rules in Escape were limited to single-request vulnerabilities. You could only define and test one request at a time.
This meant that more complex vulnerabilities, such as those requiring multiple chained steps (e.g., creating a user, then editing that user to escalate privileges), couldn’t be implemented.
That changes today.
Introducing Multi-Step Custom Rules
You can now chain multiple requests together in a single custom rule, allowing you to simulate complex attack flows, just like a pentester would.
With multi-step rules, you can:
- Extract data from one request (e.g., a token, user ID, or session key)
- Modify and reinject it into subsequent requests
- Recreate full exploitation chains that were previously impossible to model in Escape
- Learn from bug bounty and external reports: When a bug bounty report (ex. HackerOne Report) describes a multi-step exploit, you can now implement it directly in Escape to validate, triage, and create reproducible test cases.
This unlocks the ability to implement virtually any vulnerability scenario (even the most advanced ones) directly inside Escape DAST.
This is available now in our API scanner. Visit our documentation to learn how to set up the rules.
Examples of Multi-Step Rules
1) ID re-injection for tenant isolation issue
Use case: dynamically extract an identifier from one user’s response (e.g., card_id) and reuse it in a subsequent request executed as a different user. This tests tenant-isolation problems where one tenant can access another tenant’s resource by reusing an ID.
What happens:
- Seed request as
user1returns acard_id. - Extract
card_idand save it to a variable. - Use the saved
card_idin a request issued asuser2. - If the request as
user2succeeds and returns data tied touser1, raise an alert.
Here is a direct example of this rule:
type: API
middleware:
  trigger:
  - is: 200
    if: response.status_code
  - is: "/user/cards/{cardId}"
    if: schema.path_ref
  - is: user1
    if: request.user
  mutation:
  - key: schema.url
    use_extraction: true # This will cause the {{card_id}} to be replaced!
    value: http://example.com/user/cards/{{card_id}}
  - key: request.user
    value: user2 # Send as user2!

extractors:
  - trigger:
    - is: user1
      if: request.user # The request was originally sent by user1
    - is: 200
      if: response.status_code
    - is: "/user/edit"
      if: schema.path_ref
    extract:
    - key: response.body.json
      variable: card_id # This is the variable name that will be used!
      can_overwrite: true
      accept_null: false
      jq: ".card.id" # We extract the card ID returned on the JSON response!

  # We can define more extractions with different triggers!
  - trigger:
    - use_extraction: true # In order to enable variable parsing, we must set use_extraction to true!
      contains: "/card/{{card_id}}" # The card_id we extracted in the first Extractor will be reinjected here (If extraction was done)!
      if: schema.url
    extract:
    - key: response.body.text # This example will extract the response body as a text
      variable: body
Properties
id: The unique identifier of the custom rule. It is provided by Escape, do not set it manually.alert: The alert to raise if the detection conditions are met.type: The type of the custom rule. It is provided by Escape, do not set it manually.seed: A list of requests to seed the scan.transform: Defines lists of triggers and mutators (combined with AND operators).detect: The conditions to trigger the alert.extractors: The extractors to extract the data from the response.
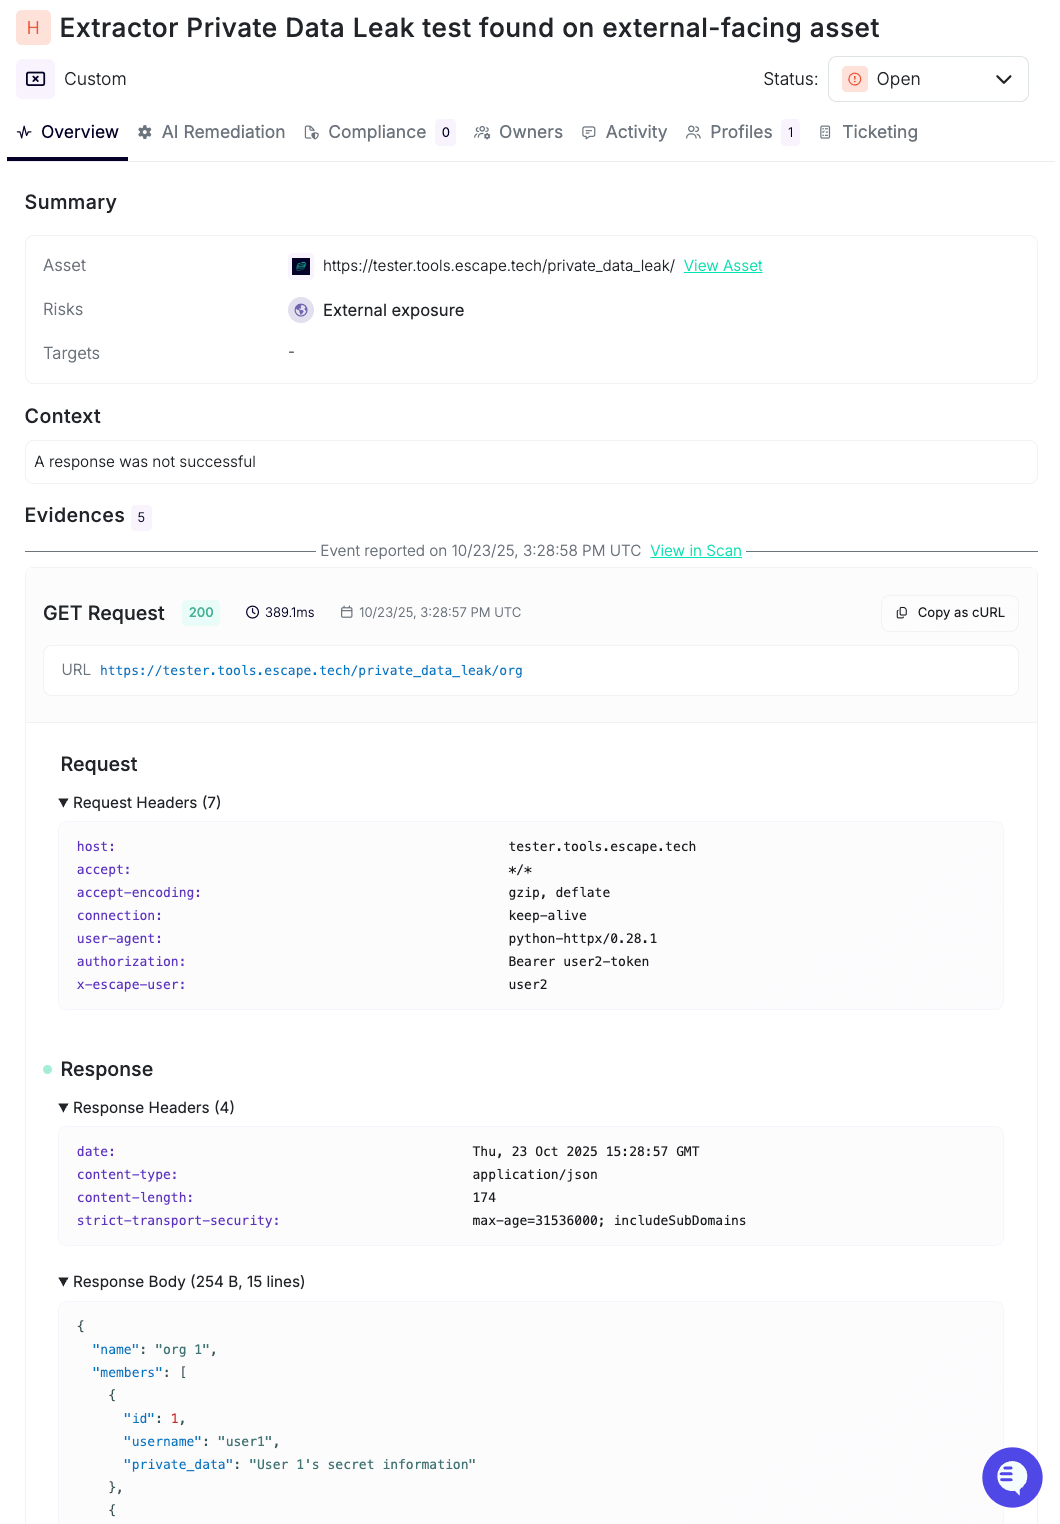
2) Private data leak checks
Use case: detect whether private data returned to user1 appears in responses when the same endpoints are hit as user2. This helps find improper data isolation or accidental exposure.
Example rule:
  seed:
    - curl: curl -k -L  'https://tester.tools.escape.tech/private_data_leak/me'
      protocol: curl
  detect:
    - if: request.user
      is: user2
    - if: response.body.text
      contains: "{{user1_private_data}}"
      use_extraction: true
  extractors:
    - extract:
        - jq: .private_data
          key: response.body.json
          variable: user1_private_data
      trigger:
        - if: request.user
          is: user1
        - if: helpers.response.is_successful
          is: true
How it works:
- a request is performed as
user1to collectprivate_data - extract
private_datainto theuser1_private_datavariable only when the seed response is successful. - detection rule allows to look at requests made as
user2and scans the response body for the extracted{{user1_private_data}}. If found, the rule flags a private-data leak.
When the rule triggers, the scan produces an evidence card similar to the example below:
Need help?
If you’d like help converting a bug-bounty report or pentest finding into a chained custom rule (we can pair on a POC), reach out to your Escape agentic pentesting contact or schedule a demo. We’re happy to help turn real findings into automatable, reproducible checks!
💡 Check out more product updates below:
- Introducing AI-Powered Exploit Validation and Remediation Guidelines
- Introducing Multi-User Testing with Natural Language Queries in Escape DAST
- August Product Updates: Enhancements to the Escape Public API and CLI, and the Introduction of Global Configuration Management
- More Support for Complex Authentication Flows: TOTP MFA and Text-Based CAPTCHA