Achieving end-to-end type safety in a modern JS GraphQL stack – Part 1

In this article, we will create a simple GraphQL application, a message board, by combining many recent open-source technologies. This article aims to be a showcase of technologies that work well together rather than a complete tutorial on project setup. It is however a long read, so we decided to split it in two parts to make it easier to read.
What is end-to-end type safety?
Type safety is the property of a program that guarantees that all value types are known at build time. It prevents a lot of bugs from happening before running the program. The most common way to achieve type safety in a JavaScript project is to use TypeScript:
// Declare an object shape:
interface User {
  name: string;
  email: string;
}

const sendMail = (user: User) => {};

// This works:
sendMail({ name: "John", email: "john@example.com" });

// This doesn't:
sendMail("john@example.com");
// (x) Argument of type 'string' is not assignable to parameter of type 'User'.
When using TypeScript in a project, you get type safety in this very project. End-to-end type safety, on the contrary, is achieved when several projects interact together (e.g., with an API) in a type-safe way.
We will build a message board relying only on type-safe technologies: TypeScript for the API and the application, GraphQL as a way to interact between them, and a SQLite database.
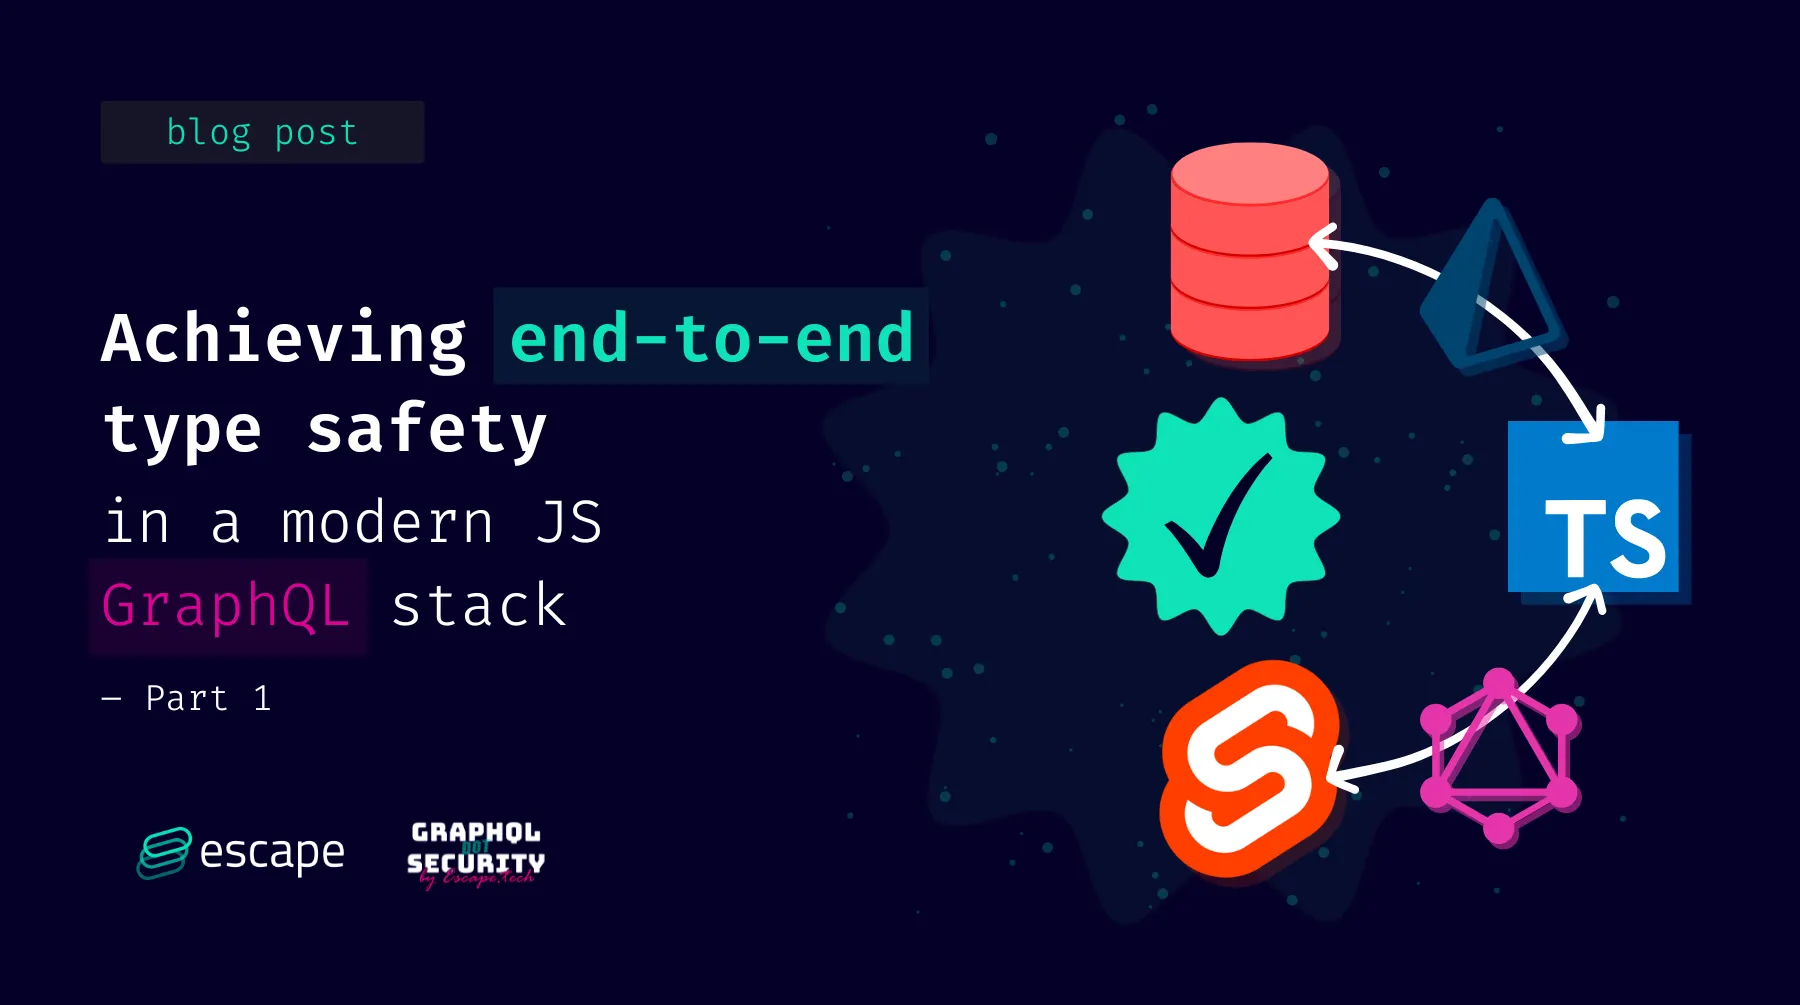
Data and type flows
The data flow of an application is the way data travels and is transformed throughout the application. It is usually represented by a directed graph like this one:

Since data has a type, there also exists a type flow, which is the path of types through said application.
Here, our data flows from left to right, with the database as the data source. Our types follow the same path, with the database schema as the source of types. This is why I prefer code-first over schema-first GraphQL APIs: the data and type flows overlap.
I annotated the diagram with the technologies we will use in this article, and we will set up these technologies from left to right too.
Project setup
If you want to have everything working by the end of this article, you can follow the steps below. Otherwise, you can skip to the next section.
If you don't have Node or Yarn on your machine, you can install them easily with Volta:
# Install the latest versions of Node and Yarn
volta install node@latest
volta install yarn@latest

# Create a new project
mkdir typed-board && cd $_

# Setup a monorepo with Yarn 4
yarn init --private --workspace -2
yarn set version canary

# Enable the good ol' node_modules
echo 'nodeLinker: node-modules' >> .yarnrc.yml
echo 'node_modules/\nbuild/' >> .gitignore
We use Yarn 4 because it ships with a few tools to manage monorepos that we will use later.
Prisma
Prisma is an ORM for Node.js and TypeScript, focused on developer experience. Among all of its features, Prisma offers a top-notch type-safe database client.
# Create a new package for the GraphQL API
mkdir -p packages/api && cd $_

# Initialize a new project
yarn init --private

# Install a few dependencies to get going
yarn add --dev typescript @types/node tsx @tsconfig/node18-strictest-esm prisma
yarn add @prisma/client
The last command installs the following tools:
- TypeScript, to check that our code is type-safe, and type definitions for Node.js;
- TSX, to run TypeScript without compiling the code;
- A
tsconfig.jsonpreset that ensures type safety; - Prisma, to interact with the database.
# Bootstrap a Prisma project
yarn prisma init --datasource-provider sqlite
This command creates a few files, but the most interesting one is prisma/schema.prisma. Prisma offers to describe a database through a schema file: we will use this file to have Prisma create the tables for us.
generator client {
  provider = "prisma-client-js"
}

datasource db {
  provider = "sqlite"
  url      = env("DATABASE_URL")
}

// Let's declare a Post table
model Post {
  id    Int    @id @default(autoincrement())
  title String
  body  String
}
This model declares that we want a Post table with three columns. Our database doesn't exist yet, so let's create it:
# Make prisma create a database conforming to the schema
yarn prisma db push

# Ignore the SQLite database
echo 'dev.db' >> .gitignore
Everything is up and running! Prisma created a SQLite database for us in packages/api/prisma/dev.db.
Let's try to interact with it; create a file named packages/api/src/index.ts with the following code:
import { PrismaClient } from "@prisma/client";

const prisma = new PrismaClient();

// Insert a new post
await prisma.post.create({
  data: {
    title: "Hello World",
    body: "This is the first post",
  },
});

// Print all posts
console.log(await prisma.post.findMany());
To run this code, we will need to complete the project setup:
1. Create a tsconfig.json file in packages/api
Let's make use of the preset we installed earlier:
{
  "extends": "@tsconfig/node18-strictest-esm/tsconfig.json",
  "compilerOptions": {
    "exactOptionalPropertyTypes": false,
    "outDir": "./build"
  }
}
2. Update the package.json
The following lines tell Node.js that we write ECMAScript modules rather than CommonJS modules. In other words, we will use import rather than require(). We also define two package scripts to make our lives easier.
{
  "name": "api",
  "dependencies": {
    "@prisma/client": "^4.4.0"
  },
  "devDependencies": {
    "@tsconfig/node18-strictest-esm": "^1.0.1",
    "prisma": "^4.4.0",
    "tsx": "^3.9.0",
    "typescript": "^4.8.4"
  },
  "packageManager": "yarn@4.0.0-rc.22",
  "private": true,
  // Add the following lines: (without this comment)
  "scripts": {
    "build": "tsc",
    "dev": "tsx watch --clear-screen=false src/index.ts"
  },
  "type": "module"
}
3. Fasten your seatbelt – we're ready for takeoff
# Type-check and build the package
yarn build

# Run the code in watch mode (every time you save a file, it will be re-run)
yarn dev
You should see your first post printed in the console. Hello World!
Prisma types all the arguments and return values, allowing TypeScript to catch typos and provide relevant autocompletion. You can ensure that TypeScript does its job by removing the title or body of the post.create call and then run yarn build in the directory; you should see something like this:
src/index.ts:7:3 - error TS2322:
  ...
    Property 'title' is missing in type '{ body: string; }' but required in type 'PostCreateInput'.
We're done with the database part; let's move on to the backend.
Pothos
Pothos is a breeze of fresh air when it comes to building GraphQL APIs. It is a library that lets you write code-first GraphQL APIs with an emphasis on pluggability and type safety. And it has an awesome Prisma integration! (I am genuinely excited about this one, it makes my life so much easier.)
We will add a GraphQL API on top of our database, with a query to get articles and a mutation to create a new one.
Let's install Pothos and Yoga in the packages/api directory:
# Install Pothos and Yoga
yarn add @pothos/core @pothos/plugin-prisma graphql graphql-yoga@three

# Setup the Prisma-Pothos integration
echo 'generator pothos {\nprovider = "prisma-pothos-types"\n}' >> prisma/schema.prisma
yarn prisma generate
And let's also create a few files to define a simple GraphQL API:
src/schema.ts
This file will contain our queries and mutations. It's a good practice to split the schema file into several files to allow it to scale, the Pothos documentation has a dedicated section about it, but we will keep it simple for now.
import SchemaBuilder from "@pothos/core";
import PrismaPlugin from "@pothos/plugin-prisma";
import type PrismaTypes from "@pothos/plugin-prisma/generated";
import { PrismaClient } from "@prisma/client";
import { printSchema } from "graphql";
import { writeFile } from "node:fs/promises";

// Instantiate the Prisma client
const prisma = new PrismaClient();

// Instantiate the schema builder with the Prisma plugin
const builder = new SchemaBuilder<{ PrismaTypes: PrismaTypes }>({
  plugins: [PrismaPlugin],
  prisma: { client: prisma },
});

// Declare a `Post` GraphQL type, based on the table of the same name
const PostType = builder.prismaObject("Post", {
  fields: (t) => ({
    // Expose only the underlying data we want to expose
    id: t.exposeID("id"),
    title: t.exposeString("title"),
    body: t.exposeString("body"),
  }),
});

builder.queryType({
  fields: (t) => ({
    // Declare a new query field, `posts`, which returns the latest posts
    posts: t.prismaField({
      // Pothos makes sure that `type` and `resolve` are of the same type
      type: [PostType],
      resolve: async (query) =>
        // Return the 10 latest posts
        prisma.post.findMany({ ...query, orderBy: { id: "desc" }, take: 10 }),
    }),
  }),
});

builder.mutationType({
  fields: (t) => ({
    // Declare a new mutation field, `createPost`, which creates a new post
    createPost: t.prismaField({
      type: PostType,
      // The mutation takes a `title` and `body` arguments
      // They are correctly typed as string in `resolve`
      args: {
        title: t.arg.string({ required: true }),
        body: t.arg.string({ required: true }),
      },
      resolve: async (query, _, { title, body }) =>
        // Create a post and return it
        prisma.post.create({ ...query, data: { title, body } }),
    }),
  }),
});

export const schema = builder.toSchema();

/** Saves the schema to `build/schema.graphql`. */
export const writeSchema = async () =>
  writeFile(
    new URL("build/schema.graphql", `file://${process.cwd()}/`),
    printSchema(schema)
  );
This is enough to declare a type, a query, and a mutation.
You will soon be able to read the resulting schema in build/schema.graphql; it will look like this:
# No need to copy this, it will be automatically generated!
type Post {
  id: ID!
  body: String!
  title: String!
}

type Query {
  posts: [Post!]!
}

type Mutation {
  createPost(body: String!, title: String!): Post!
}
src/index.ts
This file will be the entry point of our application. It creates the GraphQL server and starts it.
import { createYoga } from "graphql-yoga";
import { createServer } from "node:http";
import { schema, writeSchema } from "./schema.js";

// Create a Yoga instance with the schema
const yoga = createYoga({ schema });

// Start an HTTP server on port 4000
createServer(yoga).listen(4000, () => {
  console.log("Server is running on http://localhost:4000/graphql");
});

// Save the schema to `build/schema.graphql`
await writeSchema();
src/post-build.ts
This file is not necessary to run the application, but it will come in handy to have a simple way to generate the schema file.
import { writeSchema } from "./schema.js";

await writeSchema();
console.log("✨ Schema exported");
Update the build script in package.json
{
  "scripts": {
    // Update the build script with what follows:
    "build": "prisma generate && tsc && yarn node ./build/post-build.js",
    "dev": "tsx watch --clear-screen=false src/index.ts"
  }
}
And we're all settled! You can run yarn dev if it's not already running and go to localhost:4000/graphql to play with the GraphQL API. Behold the magnificent GraphiQL interface! It looks really nice compared to its previous version, doesn't it?
You can try fetching and inserting data with the following queries:
query {
  posts {
    id
    title
    body
  }
}
mutation {
  createPost(title: "Is this thing on?", body: "Sure it is!") {
    id
  }
}

Things are working well... Let's make them look good!
This is the topic of the second part! We will create a simple frontend to interact with the endpoint, with complete type-safety at build time.
See you soon ;)
Food for thoughts
💡 Wanna learn more about code quality? Read our blog article "GraphQL errors: the Good, the Bad and the Ugly".